Critical Documentation During Sealant Restoration
Review these tips to guide the assessment and documentation of commercial sealant restoration.


Review these tips to guide the assessment and documentation of commercial sealant restoration.
During building restoration, it is essential to understand the full scope of work needed at the onset of the project to avoid unearthing problems later that may or not be in budget. Proper inspection and documentation of existing site conditions is the best way to capture the degree of damage, their locations, probable causes and recommended remediation methods.
Sealant restoration can be especially intimidating, with large buildings having miles of joints to inspect. So what’s the best method to assess and document joint seals? Keep reading to find out.
Joint sealants, like other building materials, do not have an infinite service life, due to direct exposure to UV, temperature fluctuations, precipitation and building movement. As sealants may separate or deteriorate over time, they can let moisture into the wall cavity, resulting in leaks, mold and other building damage.
 Because of these ongoing pressures, building seals should be reviewed regularly as a preventative maintenance item. Learn more about the Importance of Maintaining Proper Sealant Joints here. Inspections of the building envelope should be done annually to enable early detection and correction of localized problems, thereby maximizing the service life of all components.
Similarly, the costs of mobilization (special staging, placing safety barriers, etc.) are often a large part of the project cost. If full sealant restoration is likely to be required in the foreseeable future, it may make more financial sense to undertake it now with the other repairs to avoid paying the cost of labor and mobilization twice.
Regardless of the initial motivation for the restoration work, the existing condition of the building joint seals and the overall wall system should always be documented. Doing a systematic condition survey with an assessment of the observations supplies the data needed to identify the best approach and appropriate restoration products.
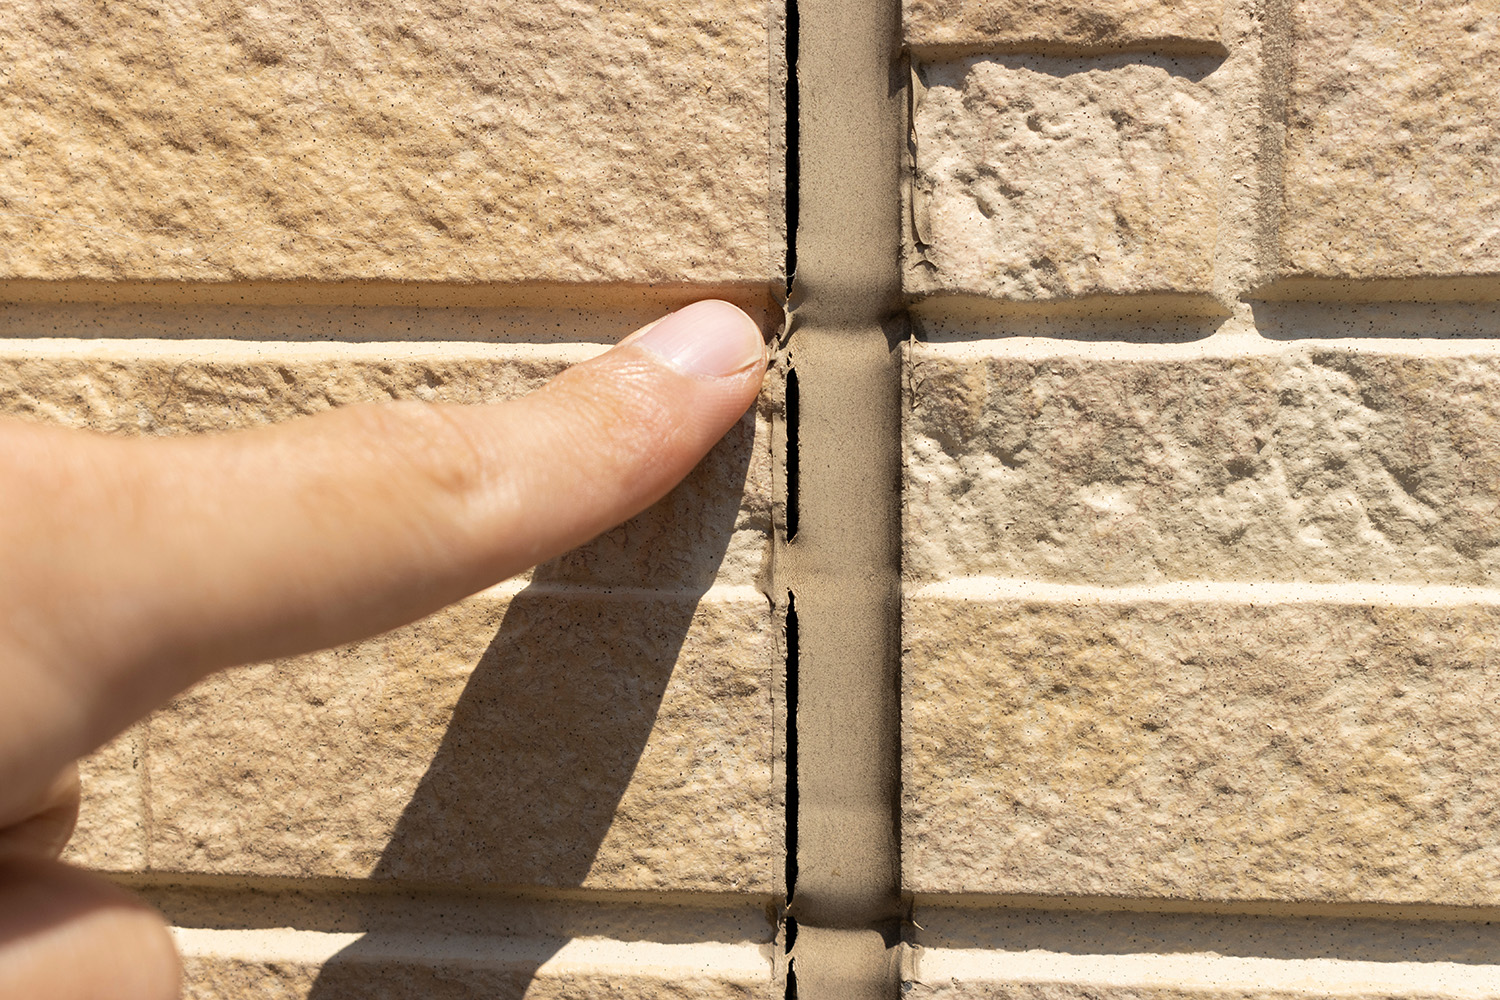
This visual inspection should not be done solely from the ground, and therefore may require the use of a swing stage, man lift, boatswain chair or similar types of equipment. With larger buildings, the extent of the survey should be confirmed before starting. It may be decided that a partial review, such as one drop per elevation, will provide enough information to proceed. 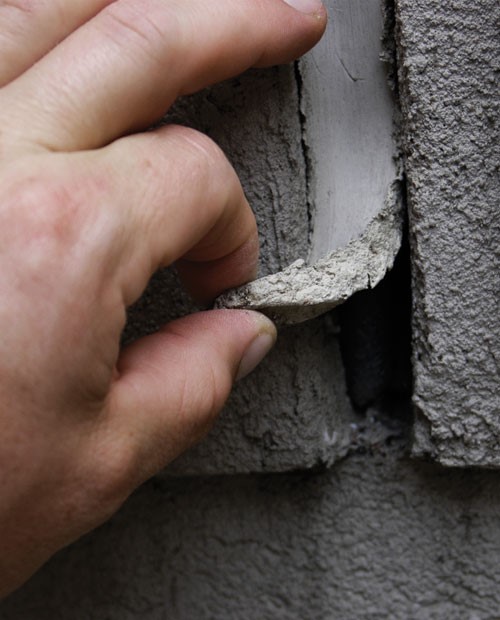 Note that joint seal failures are not necessarily apparent by visual checks alone. A common technique for evaluating joint seal problems is to probe the joint seal during the inspection. Probing is simply applying a localized force at the center of the joint sealant using a blunt instrument to simulate extension of the joint. This testing should be done during the inspection on a defined, repetitive basis. A typical approach is to probe every 3 to 5 feet or 1 to 1.5 meters of seal if no failures are observed. Failure areas should be tested on a continual basis until no failure is observed.
As the visual and physical inspections proceed, a building survey should document the following information:
With the survey completed, it’s now time to analyze the information. For example, determine if the observed problems are occurring on one elevation, concentrated in one area or widespread. If the problems are not isolated, a more extensive inspection may be needed to understand the full scope of work. Experienced building professionals can use the information to understand the probable source of the issue which will help dictate the remediation steps. This is important because joint seal failures from indirect causes, such as leaky windows, will not be fixed by replacing the caulking alone.
However, most sealant challenges are caused by inadequate substrate preparation, substrate contamination or improper sealant installation. Asking the following questions can help to pinpoint the root cause of a sealant failure:
Include these answers, a description of possible root causes and any additional findings in the survey summary to aid in choosing the appropriate sealant restoration option.
At this point, your team should have enough information to choose from the three joint sealant restoration options.
 If you’ve determined that a spot repair or total joint restoration is ideal for the project, you can begin considering the sealant choices available for your restoration project. For step-by-step instructions on how to conduct various sealant restoration practices, download our free Restoration Guide here.
The documentation doesn’t end with the existing building survey. It is also recommended that the sealant applicator maintain a jobsite log or record throughout the joint restoration process. This document chronicles the daily progression of the project and should include:
This process may seem excessive, but it can provide invaluable information should future troubleshooting be necessary. With the scale and cost of large renovation projects, alleviating rework and documenting conditions can go a long way in saving time and money for the contractor, architect and owner.


